
檸檬乳酪蛋糕佐桑椹覆盆子果醬
準備時間 30分鐘
等待時間 8小時至隔夜
模具尺寸 4吋圓形活動烤模
Lemon cheesecake with mulberry raspberry jam (no-bake)
Preparation time : 30 minutes
Waiting time : 8 hours
Equipment : 4-inch round pan or spring form pan
材料與作法
底層
- 奶油餅乾 45g
- 低溫烘烤胡桃與核桃 15g
- Hazelnut butter 榛果醬 1.5T(也可用花生醬,量必須視所選的餅乾類型,自行增減調整濕度)
- 奶油乳酪 90g
- 牛奶 32cc
- 吉利丁片 3g
- 冰水 適量(浸泡吉利丁用)
- 砂糖 20g
- 無糖優格 60g
- 檸檬汁 15cc
- 檸檬皮屑 半個檸檬量
INGREDIENTS & METHODS
Base
- 45g butter cookies
- 15g walnut
- 1.5T hazelnut butter or peanut butter
- 90g cream cheese
- 32cc milk
- 3g gelatine
- some iced water (for soaking the gelatine)
- 20g sugar
- 60g sugar-free yogurt
- 15cc lemon juice
- 1/2 lemon zest
- mulberry raspberry jam
準備一些奶油餅乾(任何餅乾都可以),胡桃核桃以低溫烘烤過備用。
Prepare some butter biscuits and slightly baked walnuts.

將餅乾與胡桃放入塑膠袋中,並用橄面棍壓碎,越細越好。
Put cookies and walnuts into a plastic food bag, and crush them to crumbs as much as possible with a rolling pin.

奶油堅果碎屑好香~~
Smashed butter biscuit mixed with walnuts smells good. :)

之前買的 Hazelnut butter 榛果醬,很適合用來調整餅乾屑的濕度,又香又健康,也可以用花生醬取代。
Put the crumbs into a bowl. Put 1-2 tablespoons hazelnut butter to add some moisture and flavor (you can use peanut butter as well).

加入適量的榛果醬攪拌均勻,醬的量必須視所選的餅乾類型,自行增減調整濕度。
Adjust the amount of the hazelnut butter or peanut butter to control the moisture of the crumb.

烤模底部鋪上一層烘焙紙或錫箔紙備用。
Line the cake pan with baking parchment or aluminum foil.

將攪拌均勻的餅乾屑倒入烤模,用湯匙壓緊壓平。
Tip them into the prepared pan and press firmly down into the base to create an even layer.

放入冰箱冷藏備用。
Chill in the fridge to set firmly.

吉利丁片泡入冰水中至軟化。
Soak gelatin sheets in ice water until soften.

奶油乳酪切小塊,待恢復室溫備用,今天用 light cream cheese ~
Cut cream cheese into small pieces and leave it aside until it is up to the room temperature.

牛奶以小火加熱至溫溫的即可,加入泡軟的吉利丁,攪拌均勻至吉利丁融化,冷卻備用。
Warm up the milk with low heat, put in the soaked gelatine, and stir them until the gelatine is fully melted. Put it aside and cool down to room temperature.

將其他食材秤量好備用。
Meanwhile, prepare other ingredients.

奶油乳酪放進攪拌盆內,用打蛋器打散成乳霜狀。
Check the temperature of the cream cheese. If it's already not cold, put it into a big bowl and beat it with a whisk until creamy.

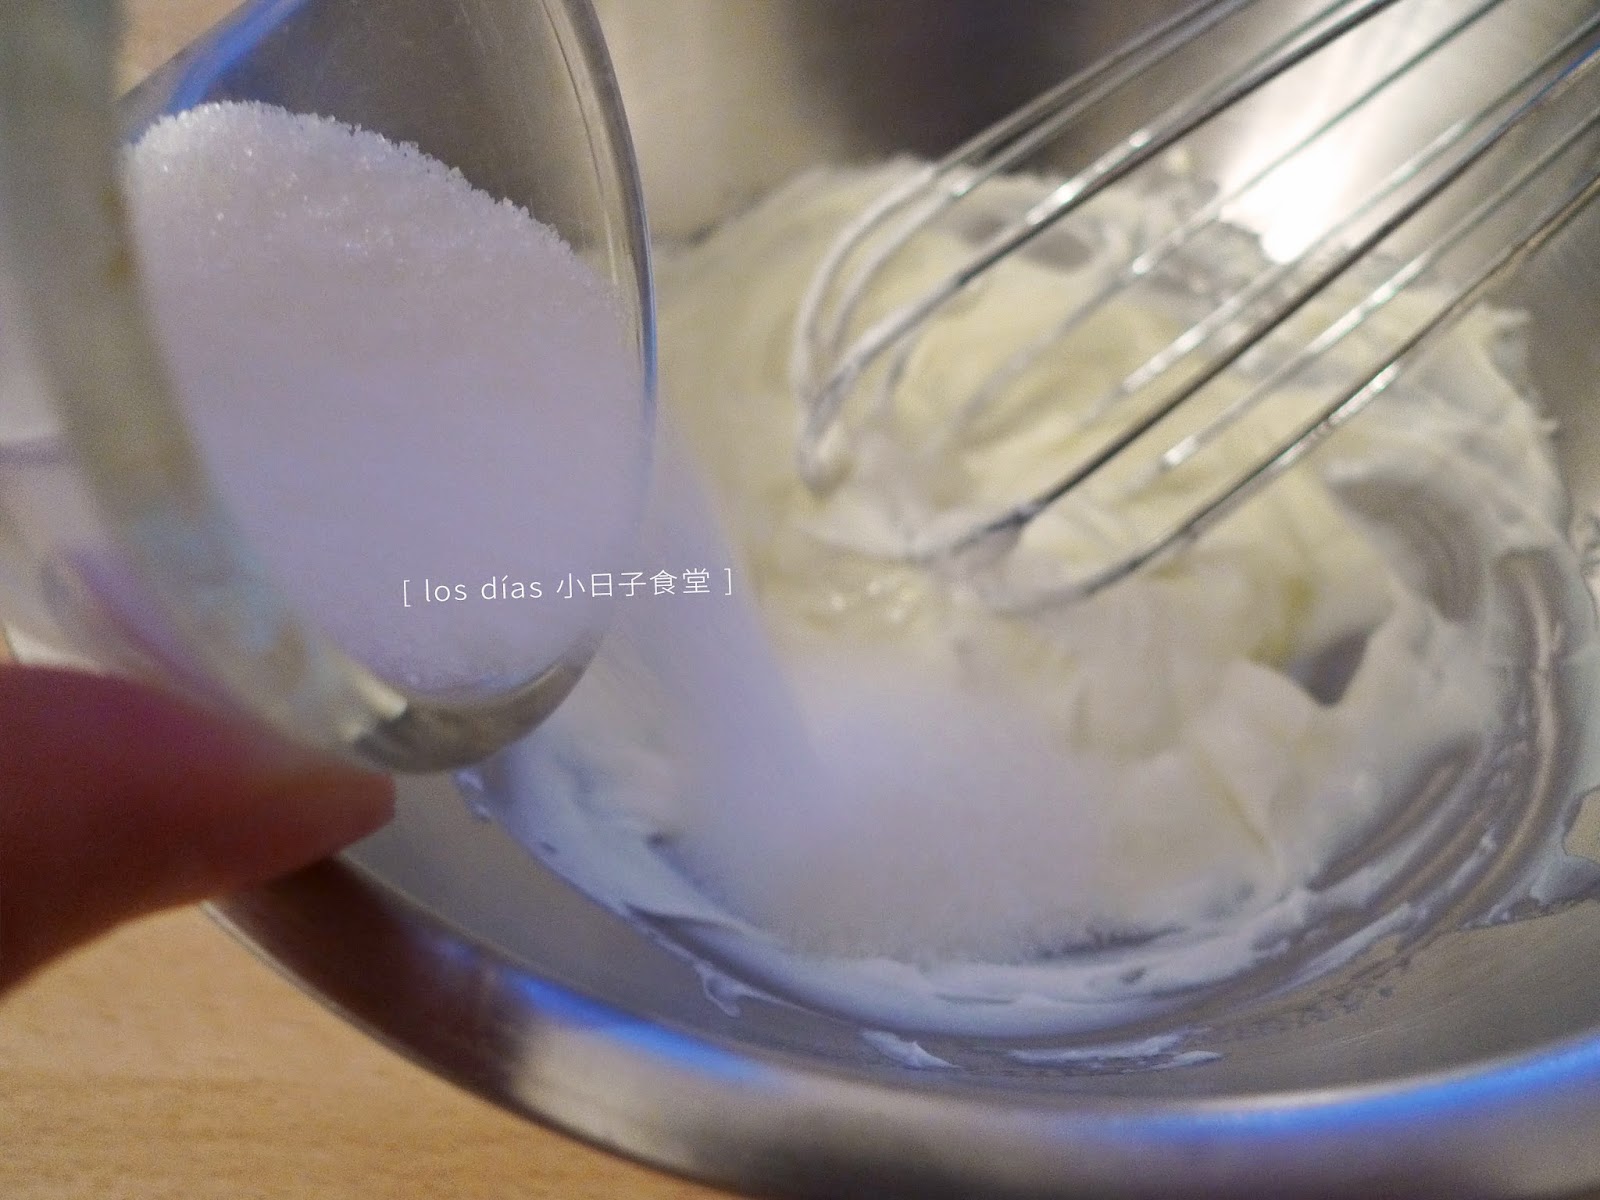
攪拌盆內依序加入砂糖、優格、檸檬汁與檸檬皮屑,攪拌均勻。
Add the following ingredients in order: sugar, yogurt, lemon juice and lemon zest, and stir well until smooth.
從冰箱取出烤模。
Retrieve the biscuit base with the model from the refrigerator.

倒入已攪拌均勻的乳酪糊,再放回冰箱冷藏至隔夜,至少 6 小時。
Spoon the cream mixture onto the biscuit base, leave to set in the fridge overnight or at least 6 hours.

用薄刀沿著烤模邊小心脫模即可~
Un-mould with a thin knife along the pan carefully.

切片直接享用~也可以放上自製果醬一起搭配,酸酸甜甜搭配下層鹹香的餅乾,非常對味 <3 <3
Cut a slice of cake onto a serving plate and enjoy it! Also can put together with homemade jam. Yam yam!!

No comments:
Post a Comment